Hello friends, how was your weekend? Around here the weather has been wonderful; there are signs of spring everywhere. And it just feels like a happy and joyful time. Yesterday I picked some
freesias from my little garden to adorn my table. I love having fresh flowers around the house; specially when they come from my garden.
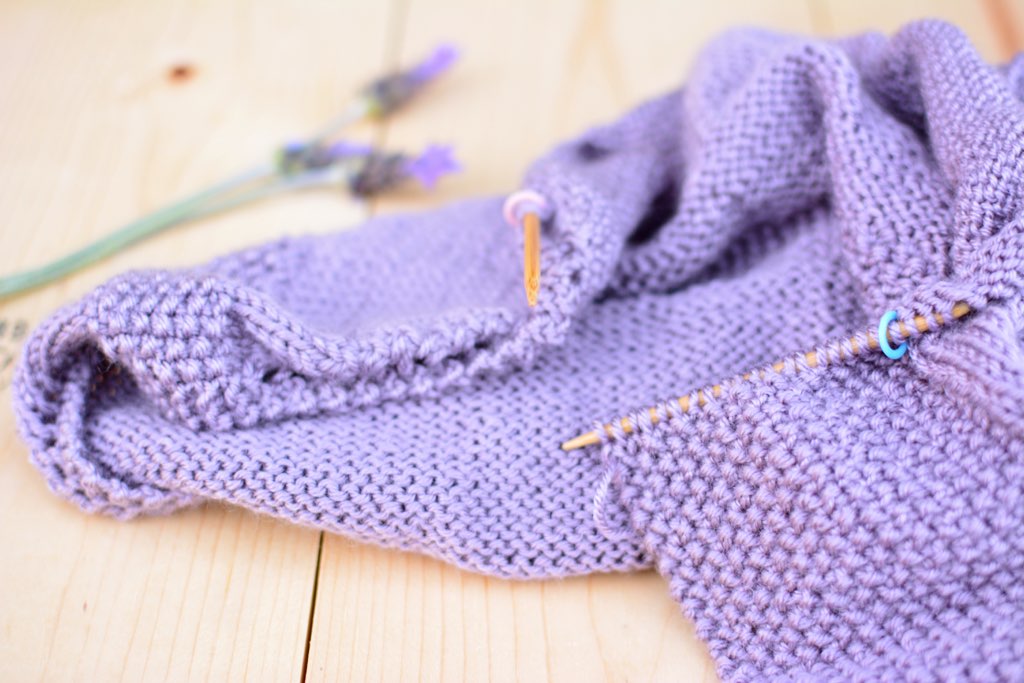
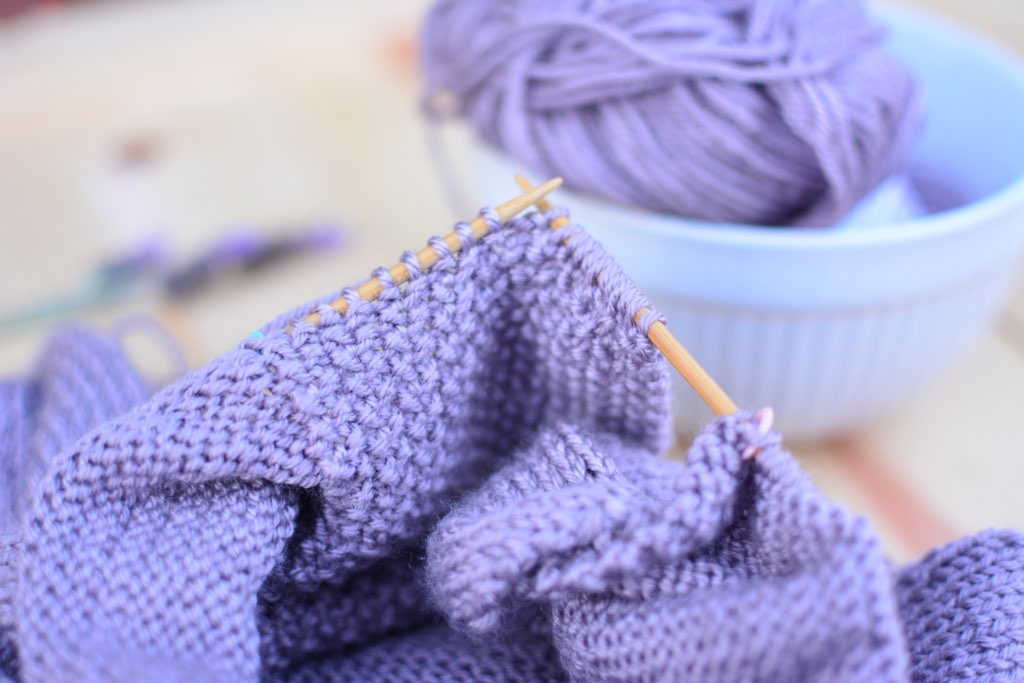
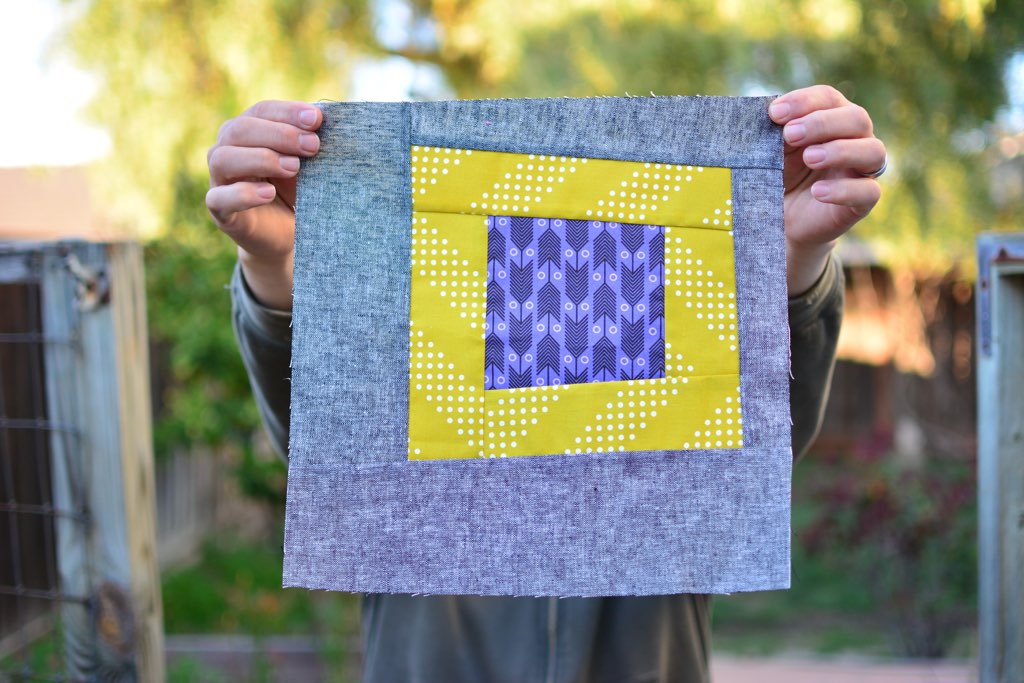
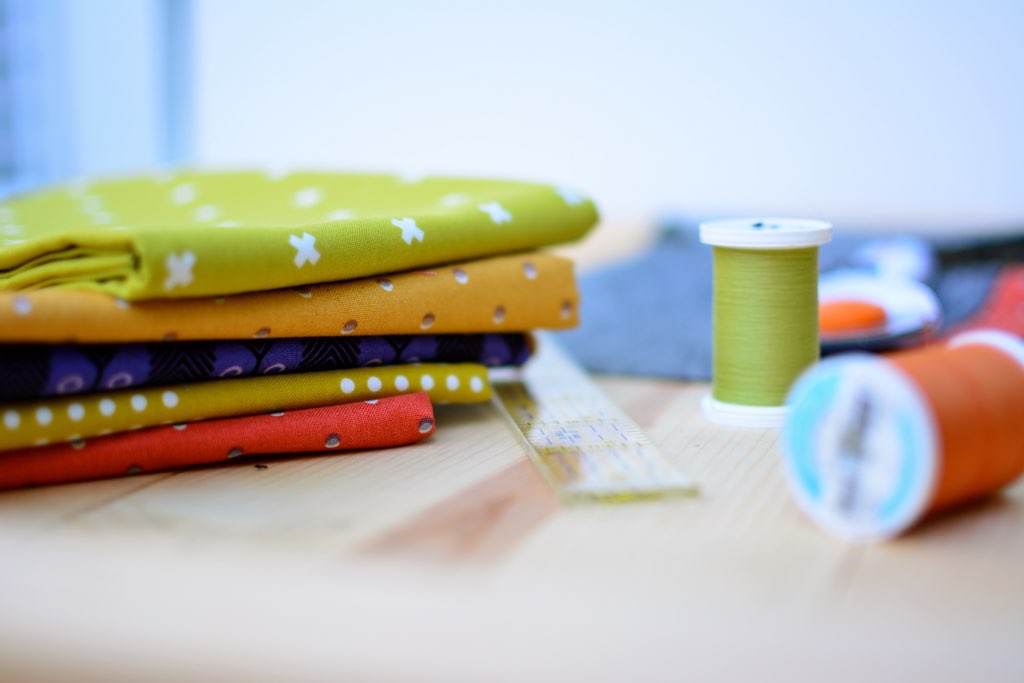
Another thing that I love is starting a new project. The excitement of picking out the fabrics and seeing your idea come to life is just so much fun. Although, on this particular project I had a bit of help. My husband requested a quilt of his own. He always supports my hobby and enjoys the quilts I make, but has never requested a quilt of his own. So I had to get on it right away. He helped me choose the fabrics and gave some "pointers" on the design :) He did't want all the blocks to be exactly the same or be very symmetrical so I decided on wonky log cabin blocks. After I showed him the first block he says that he approves, lol.
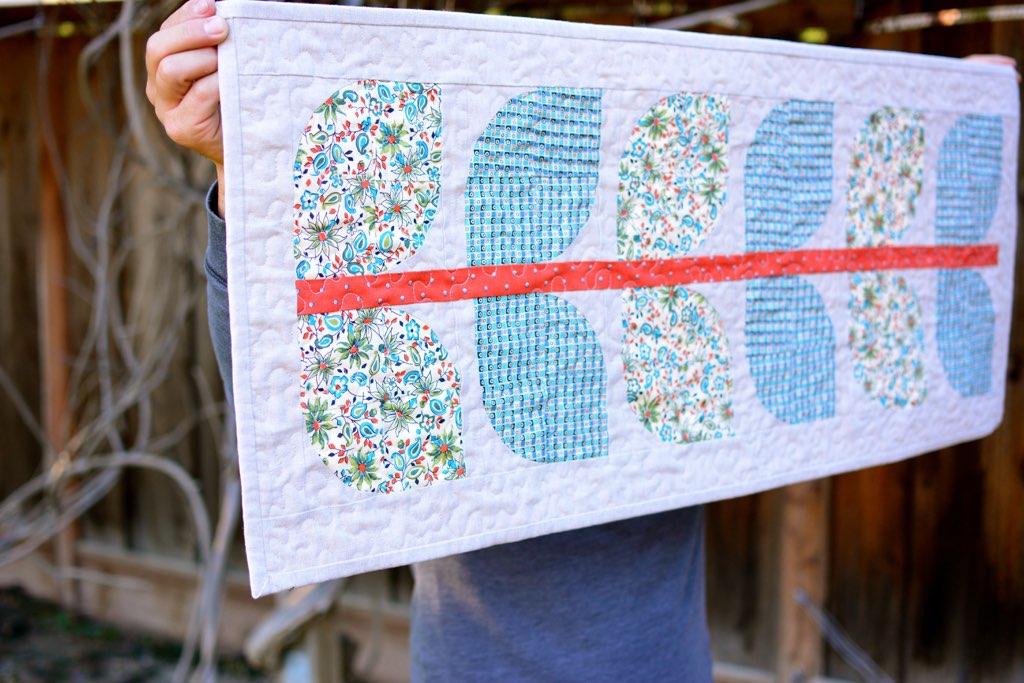
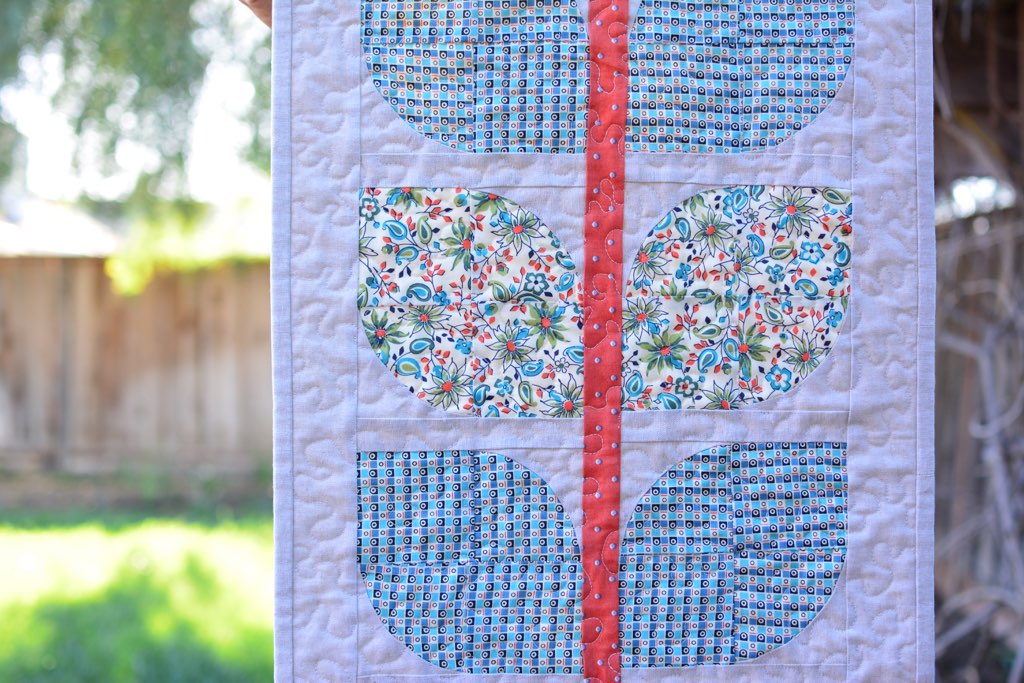
Even though I just finished another
log cabin quilt, I just couldn't resist. Log cabin blocks are so much fun to make and they offer so many possibilities. I'm really enjoying working on this quilt and seeing my husband excitement every time a complete a new block. And that reminds me why I love quilting so much. I hope to make more progress next weekend and finish it very soon.
Wishing you a wonderful week!
XO
Martha.